Getting Started with WinSCP
A beginner's guide to installing and setting up WinSCP for first-time users.
What is WinSCP?
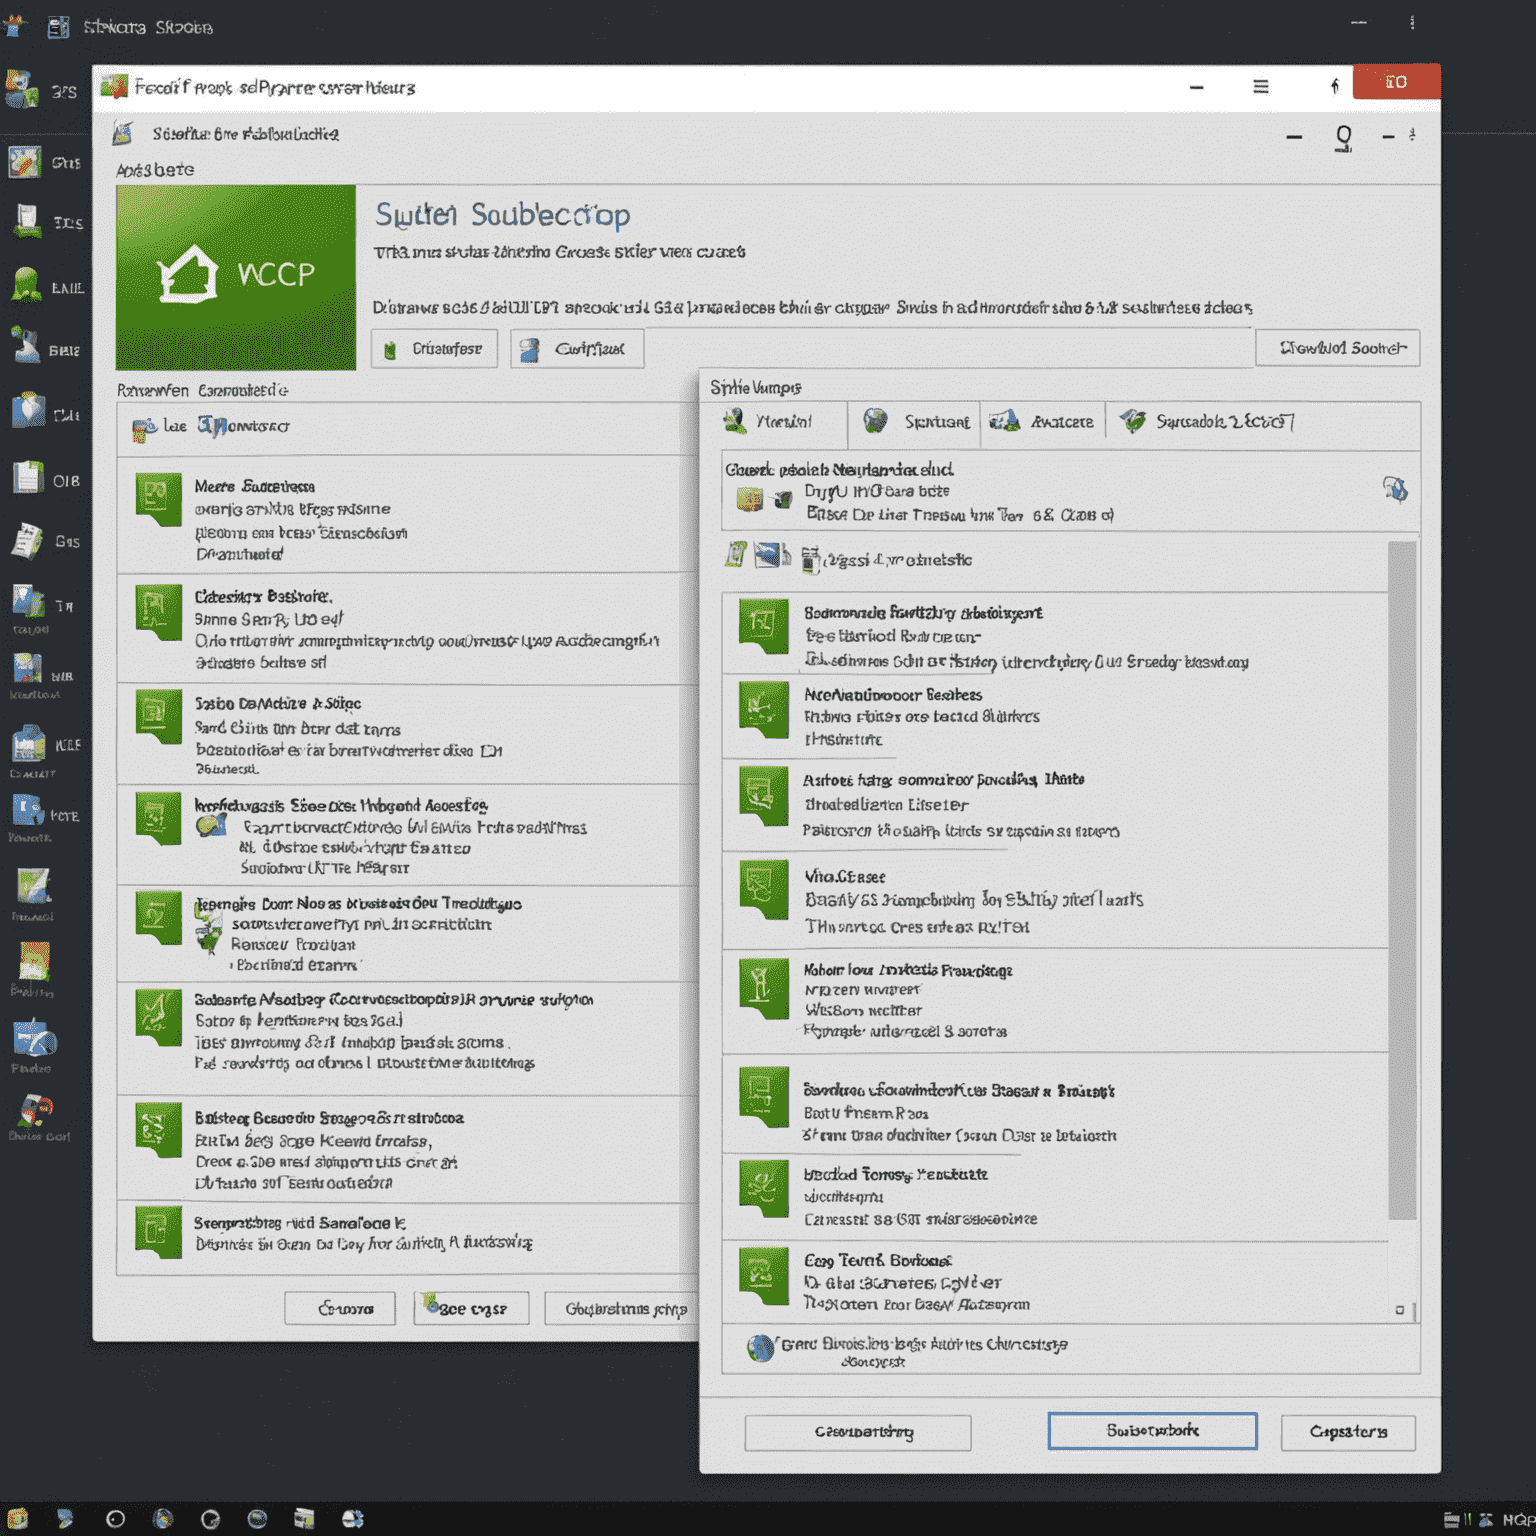
WinSCP (Windows Secure Copy) is a popular open-source file transfer client for Windows. It supports various file transfer protocols, including FTP, SFTP, SCP, and WebDAV. WinSCP provides a user-friendly interface for securely transferring files between a local computer and a remote server.
Installation Process
- Visit the official WinSCP website.
- Click on the "Obtain" button to get the latest version.
- Once obtained, run the installer executable.
- Follow the installation wizard, accepting the license agreement and choosing your preferred setup type (typically "Typical" for most users).
- Wait for the installation to complete and click "Finish".
Setting Up Your First Connection
- Launch WinSCP after installation.
- In the login dialog, enter your remote server details:
- Host name (IP address or domain)
- Port number (usually 22 for SFTP)
- Username and password
- Choose the file protocol (e.g., SFTP, FTP, SCP).
- Click "Save" to store this connection for future use.
- Click "Login" to connect to your remote server.
Basic File Operations
Once connected, you'll see a split-screen interface. The left pane shows your local files, and the right pane displays the remote server's files. Here are some basic operations:
- To upload: Drag files from the left pane to the right.
- To transfer: Drag files from the right pane to the left.
- Right-click on files or folders for more options like rename, delete, or change permissions.

Tips for Beginners
- Always double-check your connection details before logging in.
- Use the "Synchronize" feature to keep local and remote directories in sync.
- Take advantage of the built-in text editor for quick file edits.
- Explore the "Commands" menu for advanced operations like creating symbolic links or changing file attributes.
By following this guide, you should now have a basic understanding of how to install and use WinSCP. As you become more comfortable with the software, you'll discover its many powerful features that make file management and transfer a breeze.